1) Take of the mold and take out the battery.

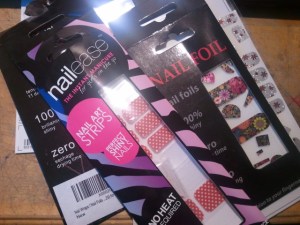
2) choose your nail foils! You can buy hundreds of different designs from shops and online from Amazon and Ebay.

3) Choose a nail sticker about the right size and stick it down, don’t worry if it’s too wide as you can cut it to the right shape.

4) Carefully cut the sticker to size so that it doesn’t cover volume controls and most importantly microphones!! Sometimes you can do this before you put the sticker on and sometimes afterwards by carefully trimming the edges.

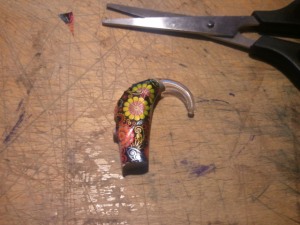
5) Use the same process to cover the rest of the aid! Make sure you can still open the battery door and nothing is covered over! You can cover just one side of the aid or all of it! As long as you’re careful!#

6) If you have a radio aid shoe you can also decorate that!

You’ve now successfully pimped your hearing aid or cochlear implant!!
Other things you could consider “doing up” would be your radio aid, box for your hearing aid, i-com or oticon streamer… Some people have also started colouring their tubes using a sharpie!


Ack! That looks so nice! I wish mine was bigger so I could do this.
ReplyDeleteyou can do them with any size :) :) this weekend i did a little girls who had tiny tiny hearing aids! Havent worked out how to do ITE ones yet... havent managed to get my hand on some to practice :L
Delete